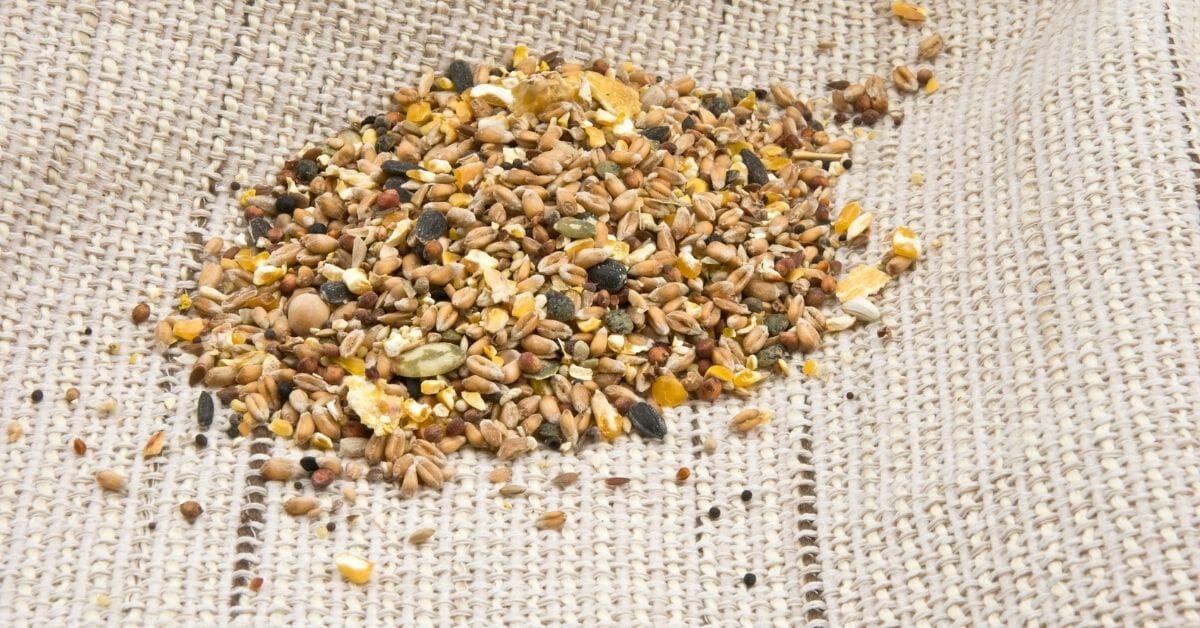
You surely go through the seed messing issue if you are feeding birds in your garden or yard. Birds create so much mess when they take their food. So, you need to clean the beneath of the feeder in two or three days and want to get rid of this issue.
You can use a seed catcher to solve the issue, which reduces the bird mess and provides you more time to watch birds rather than worrying about seed mess. The article will help you learn about making bird feeder seed catchers and give you some suggestions about a top-quality seed catcher.
Best Bird Feeder Seed Catcher
Songbird SEIA30034 Essentials Seed Hoop
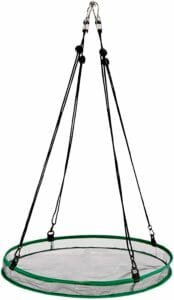
Don’t want to make a DIY seed catcher? Then, here is the Songbird Seed Catcher, which can help you reduce seed mess. The 16 x 16 x 1-inch size allows it to grab seed mess easily without dropping any.
Plus, you will get 4 adjustable hangers with the hoop. The hangers will help you to hang it easily beneath your bird feeder. Plus, you can place it near or far from the feeder according to your preference due to the adjustable feature.
How To Make A Bird Feeder Seed Catcher?
Follow the following procedures to make a seed catcher for bird feeders.
For Plastic Tube Feeders
This guide will help you make a dry seed catcher for your tube bird feeders.
Step 1: First, you need to remove the bottom of the feeder and make a small hole at the center point of the plastic base. Take a hardware cloth and attach it from beneath the feeder using a nut. Don’t forget to bend the edges to protect birds from any harm.
Step 2: You need to get a planter tray to catch the seeds. The size should be larger than your feeder width. Then make a hole in the tray and attach it to the previous nut. Now, assemble everything, and your dry plastic tube feeder seed catcher is ready.
Get the visual instruction:
For Any Type Of Feeder
If you want to see zero seed waste, you should try the dry seed catcher. Here is a step-by-step process to make the seed catcher.
Step 1: You should make a square frame that should be larger than your feeder width. For this, you can use wood, or you can use any square frame available in front, but the middle parts should be empty. You can use corner brackets to make the seed catcher more sturdy. Now, you need to use a screen for the empty parts, which will be placed underneath your feeder.
Step 2: You should collect a metal mesh with tiny holes. I hope you will find it in your garage or anywhere in your home. But, if you don’t find any, you can get the Stainless Steel Wire Mesh (Amazon Link).
Step 3: Now, you need to measure the frame size and cut the wire mesh according to your found measurement of the frame. Now, you need four strips to attach the wire to the frame. Plus, Cut the edge of the strips around a 45-degree angle.
Step 4: You need to secure the mesh and strips on the frame using a staple or anything you have similar to this. And attach them perfectly with the frame.
Step 5: The seed catcher is ready to use. After, you need to make it ready for hanging. For this, you can use eye hooks (Amazon Link), and place the eye hooks at the corners of the frame.
Step 6: You should get a chain to hang the feeder. You can use Gray Bunny Hanging Chain for this
Finally, your seed catcher is ready. Now, use it beneath the feeder, and you will notice the miracle.
Get the visual instruction: